How to shrink a VHD or VHDX file
A dynamically expanding VHD or VHDX grows as the virtual machine writes to it and never shrinks by itself. Deleting files in the guest frees space in the guest only: the file on the host stays as large as it was. To get the space back, the image has to be compacted. This guide shows the built-in way and a simpler one with Virtual Disk Trim. The two formats are compacted the same way.
The built-in way: Optimize-VHD
Shut the virtual machine down, then in an elevated PowerShell on the Hyper-V host:
Optimize-VHD -Path D:\VMs\server.vhdx -Mode Full
Dismount-VHD -Path D:\VMs\server.vhdx
The read-only mount matters: only then can Windows read the guest file system and see which blocks are free. Edit Disk → Compact in Hyper-V Manager does the same job.
When the file does not shrink
- The guest is Linux. Windows cannot read ext4, XFS or btrfs, so it only releases blocks that are already zero. You have to start the guest and run fstrim or zero the free space first.
- The disk was not mounted read-only, so the free space was never looked at.
- The VM has checkpoints. Its current data is in .avhdx files; delete the checkpoints and let them merge first.
- The disk is fixed-size. Optimize-VHD does not compact fixed disks; convert it to dynamic with Convert-VHD.
- There is no Hyper-V. The cmdlets come with the Hyper-V role, which Windows Home lacks, and do not exist on macOS or Linux. On Windows without the role, compact vdisk in diskpart is the fallback.
The simpler way: Virtual Disk Trim
Virtual Disk Trim reads the guest file system from the image file itself and rebuilds the image without the unused blocks. It needs no Hyper-V and runs on Windows, macOS and Linux.
- Shut the virtual machine down.
- Add the VHD or VHDX, or the folder with all your images. The Savings column shows what each would give back; this part is free.
- Press Trim. The trimmed image is verified against the original before it replaces it.
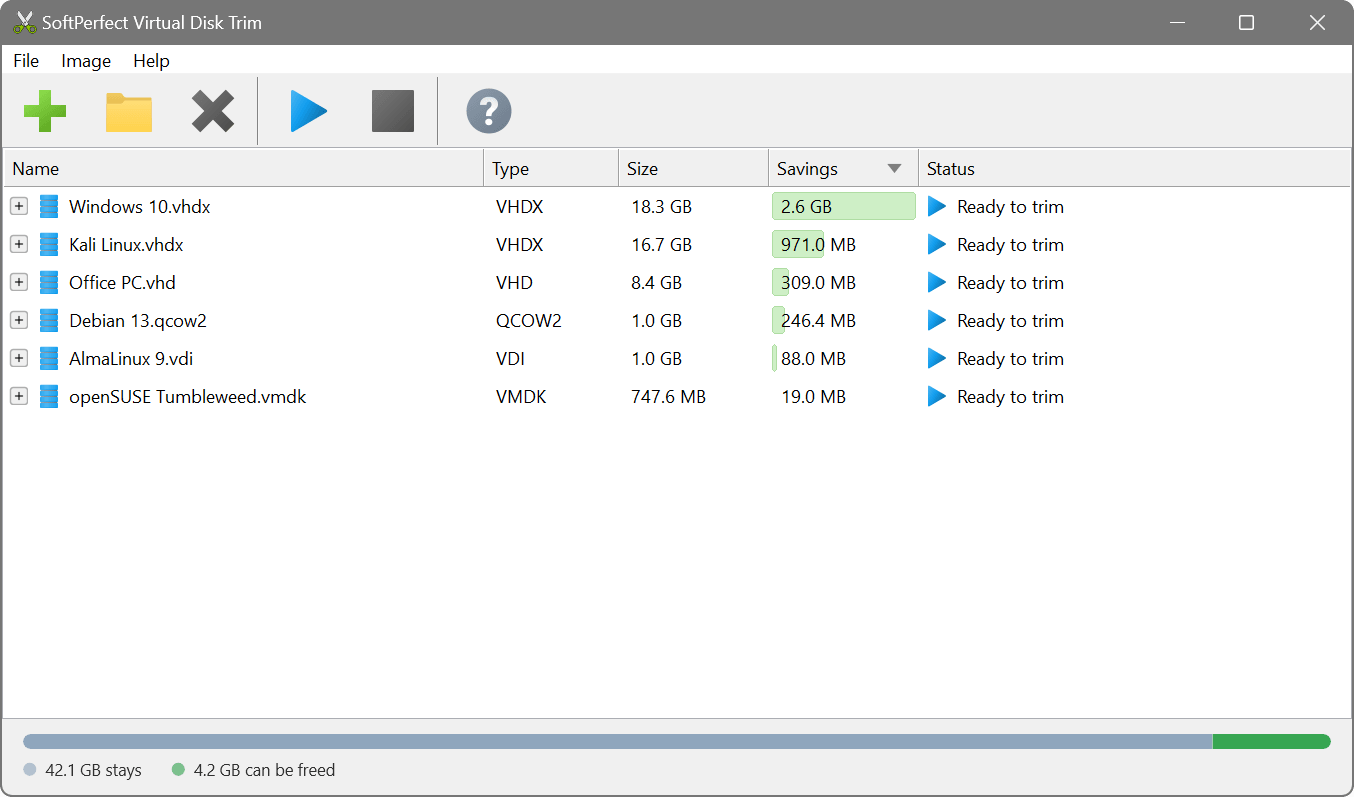
Or from the command line:
Which to use
For a Windows guest on a Hyper-V host, Optimize-VHD gives about the same result and costs nothing. Virtual Disk Trim is the better tool when:
- the guest runs Linux: ext4, XFS, btrfs and LVM are read directly, with nothing to run inside the guest;
- the image is not on a Hyper-V host: a backup, an archive, a template, a disk on a NAS or a Mac;
- the disk is fixed-size: it comes out dynamic and without its empty space;
- you want the page file and hibernation file left out as well;
- you have many images, or VMDK, VDI and qcow2 files alongside the VHD and VHDX ones.
Virtual Disk Trim does not trim a disk with checkpoints, and the base disk under them must be left alone too: delete the checkpoints and let them merge first. Neither tool reduces the capacity the guest sees.
Moving to another hypervisor? The command line tool trims and converts in one pass; the name of the output decides the format:
Shrink, compact or compress?
Hyper-V calls this operation compacting, and shrinking a VHD or VHDX usually means the same thing: dropping the blocks the guest no longer uses. Compressing is different. It packs the data itself, as NTFS compression of the file on the host does, which saves space at some cost in speed. Reducing the capacity the guest sees is a third thing: the partition has to be shrunk inside the guest and the disk resized afterwards, which Hyper-V does for VHDX only.